- Theme Packs
- Themes
-
Preschool Planning
- Preschool Teachers
Sand and Water Table in Preschool

The Sand and Water Table is an interest center that is also referred to as a Sensory Area because the children have the opportunity to learn using all of their senses here.
What is a Sand and Water Table?
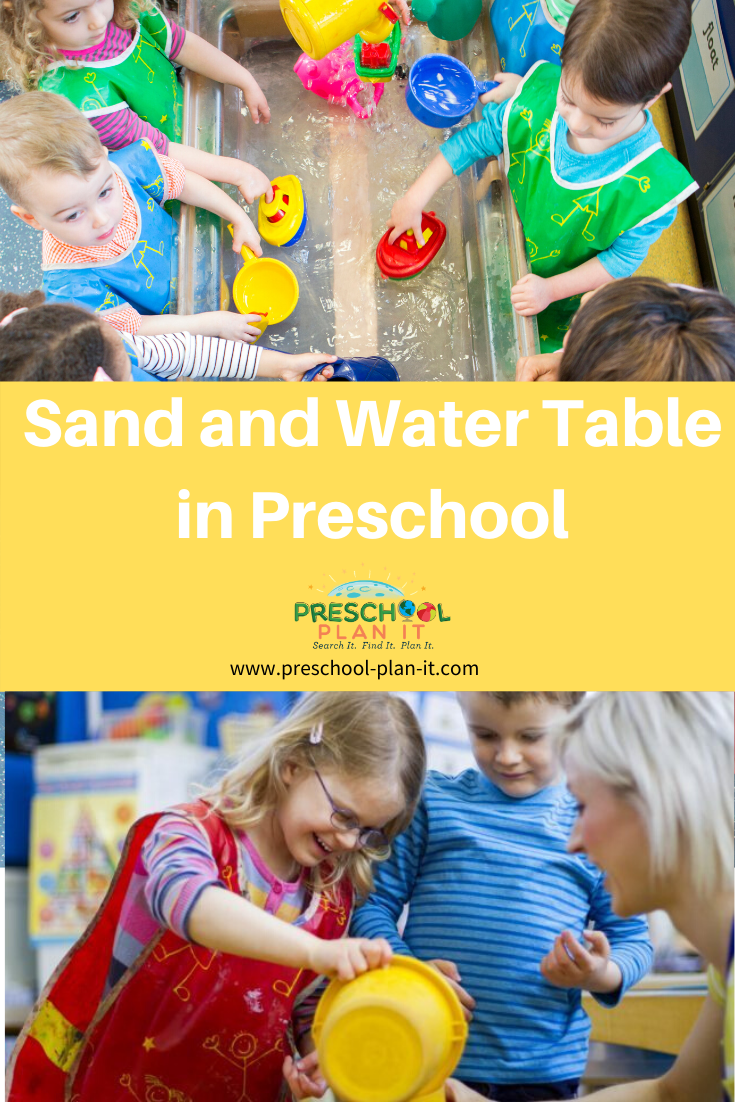
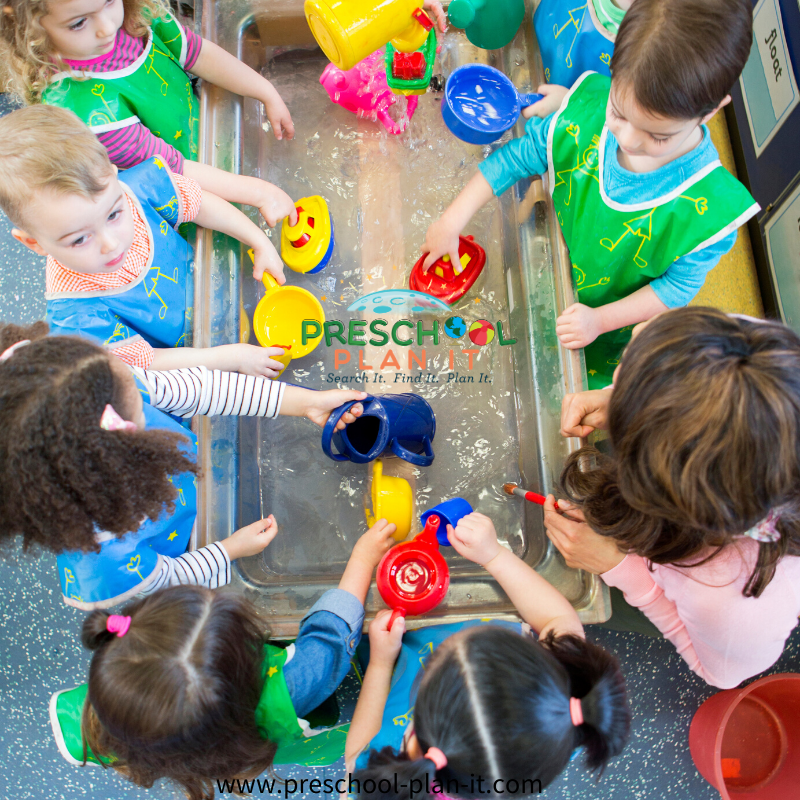
Of course, it can be a table as pictured at the top of the page. You do not HAVE to purchase something expensive to have this interest center in your classroom. You can use a large, clear bin ON a table! Or ON the floor!
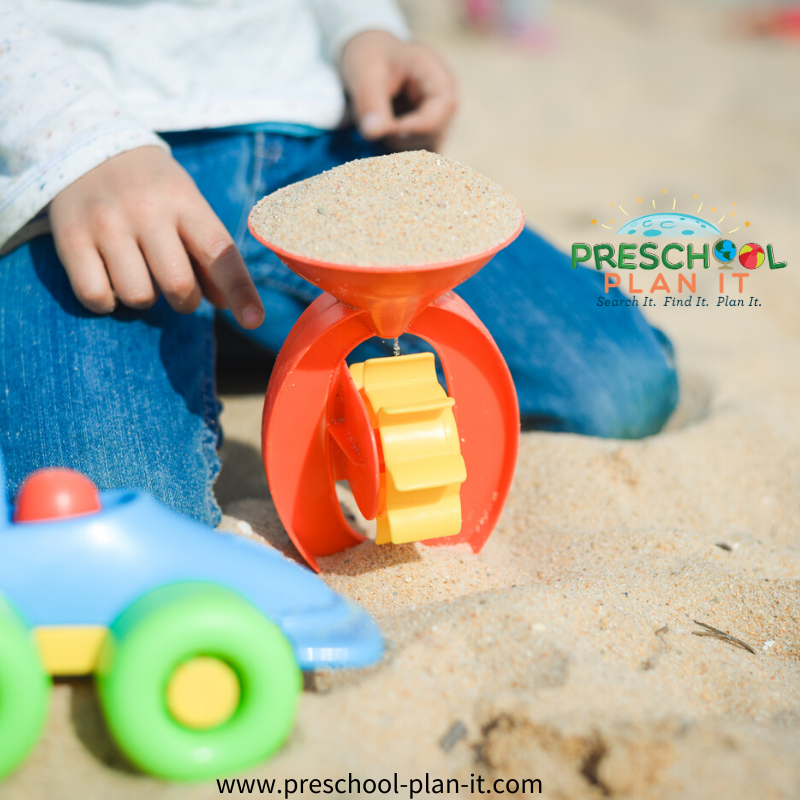
The most common items used in the table are…you guessed it!...water or sand!
Regardless of what you use in this table, please be sure it is supervised! Water is slippery and sand hurts when it gets in the eyes. Also, speaking of sand: We always have spray bottles with water in them to slightly water down the sand before play. Sand (even Play Sand meant for sand boxes) can get dusty indoors. A slight spray of water (not enough to make it so wet that it clumps together) keeps the dust away.
Placement of your Sand and Water Table should be near other active interest centers. This center tends to be noisy with excitement and would therefore be best placed near Dramatic Play or the Block Area, which also tend to be noisier! This allows the children to actively participate without disturbing children who are in interest centers that require less interruption such as the Library or Computer Area.
In addition, keep in mind that both sand and water play lead to slippery floors. It is therefore best to not have this center in the flow of main traffic in your classroom so that the children walking by do not slip and fall.
What do children learn when using the sand and water table?
Activities in the Sand and Water table help children:
Develop small motor control and coordination as they manipulate the materials.
Develop creativity as they experiment with the materials in the area.
Develop problem solving skills as they experiment and explore the properties of the materials in this area such as sand, water, pasta and rice, and shaving cream.
Children learn about physics, math, and physical science as well as strengthen their motor development!
What? PHYSICS? MATH? Yes!
Some of the concepts children question and learn about at a sand and water table are:
Why does something as big as a pumpkin float but a small penny sinks?
How many scoops of sand does it take to fill this bottle?
How can I hold the funnel and get the water into the funnel?
They are learning the Scientific Method!
1. Hypothesis: A pumpkin will sink in water. It is big.
2. Procedure/Experiment: Put the pumpkin in the water!
3. Data/Results: It floated!
4. Conclusion: Not ALL Big things sink! What other big thinks float? Do ANY big things sink?
Scientific inquiry is part of who preschoolers are! They are curious and want to find out why!
How should the teacher prepare for a Sand and Water table activity?
This is a no preparation needed interest center! Simply plan the items you want in the table, place them in the table and at Interest Center Time, and let the children explore!
You can “prepare” the presentation! For example, during a dinosaur theme, “hide” dinosaurs in the sand or in the shaving cream for a great discovery time for your budding paleontologists!
The most important thing you, as a teacher, can do here is to encourage their thinking skills and social skills by asking “I wonder” type open ended questions:
“I wonder if another cup of water would fit in that bucket?” “How were you able to make that track on the sand?”
Materials for the Sand and Water Table
The materials to have on-hand are limited only by your imagination! Here are some basic items that are great to have around!
Traditional accessories
Funnels; plastic containers and plastic tubs of different sizes; spoons of different sizes and varieties (slated spoons, closed spoons); sand sifters; egg beaters and whisks; plastic boats; cookie cutters and sand castle molds; sticks, rocks, shells, pie tins, toy cars and trucks; food coloring; water scenting items (vanilla, lemon, etc.); sponges; dish detergent (for bubbles!); bubble wands; bubble solution
Not so traditional accessories!
Don’t limit yourself to sand and water just because that is the name of the table! Some other activities to have here are:
Shaving cream; “Clean Mud” supplies (activity listed below!); old telephone books and/or scrap paper and scissors for a cutting area! This cut paper can then be used to MAKE your own paper (recipe below); grass, mud and plastic bugs; snow (real and store bought “Insta-Snow”), ice cubes (different sizes-see suggestions below!) and mittens ; corn starch and water; flour and water; dry pasta; rice (colored)
Having clean-up supplies available are a must!
Large plastic mat to place under the table (to catch spills!).
Lots and lots of towels to sop up water spills! And, of course, mops- adult and child sized.
Dust pans and brooms (adult and child sized)
Recommendation
One resource I simply could not do with out is The Creative Curriculum by Diane Trister Dodge. I believe every classroom should have one! If your program does not have a copy, check your local library or bookstore. It is a wealth of information on interest centers and could not be more developmentally appropriate!
You can purchase a copy through Amazon. Click link below to go to their website.
Themed Materials
Choose the materials to be used in the Sand and Water Table based on the concepts you are working on with your children (counting, colors) or the Theme you are working on (Dinosaurs, etc.).
Click here to go to our MAIN THEMES page
Below are some of my favorite Sand and Water Activities:
Clean Mud
Materials needed: 1 bar of Dove (or other moisturizing soap*); 1 roll of white toilet tissue, warm water, and grater
Grate the soap into your sand and water table or into a large bin.
Have children rip toilet tissue into the bin
Add warm water a little at a time.
Mix together with hands—enjoy!
Extension: Try adding glitter to the mix—beautiful!
*The original recipe I have for this calls for Ivory Soap. It works wonderfully, however the scent is VERY strong. I recommend using Ivory only if you will be using the clean mud in an outside bin!
Colored Rice or Pasta
* Please note that the cultures of your preschool families should be considered prior to using food as a play activity. Some families feel strongly about “wasting” food. Discuss with your team and director before deciding on using food as a play material.
Materials Needed: Alcohol; food coloring; pasta of different shapes or white rice; large Ziploc baggies; cookie sheets; newspaper; strainer
1. Place ¼ cup of alcohol and food coloring (8-10 drops) into a large, Ziploc baggie and mix.
2. Add 1 ½ to 2 cups of dry pasta or white rice to the bag.
3. Zip baggie and shake.
4. Lay zipped baggie on one side for about 45 minutes to an hour. Then flip over for another 45 minutes to an hour. (If the pasta is not deep enough of a color for what you want, add more alcohol and food coloring and let dry again. The longer it sits in the food coloring/alcohol mix, the deeper the color becomes).
5. Strain pasta.
6. Place pasta or rice onto the cookie sheets lined with newspaper to dry overnight.
Place this in your sand and water table with cups and spoons (and funnels for rice!) for something different in your sensory area. Also, put some aside to use in your math center for color sorting and patterning!
Corn Starch and Water
If you have never made this, you just HAVE to! It is very fun! One of my favorite recipes! Materials Needed: 1 box of cornstarch and 1-2 cups of water. (For a large group you made need to double or triple this!).
The recipe is not a perfect science!
Start by adding ¼ of the box of cornstarch and about ½ cup of water. Keep adding cornstarch and water until the consistency is like that of honey.
The great thing about this is that when the children touch it, it feels pretty hard but when they scoop it into their hands, the pressure from holding it “melts” the mixture and it drips off and through their fingers! (The corn starch and water combination is a suspension--a non newtonian fluid--the texture/viscosity changes with force! (Thanks to Abby for the clarification on how this works!).
Extension: Add food coloring to the water to make a colored mixture.
Variation: Just pour the cornstarch into the sand and water table and provide just enough water to make the mixture (not enough for the kids to make it too watery) and let them have at it and see what they come up with!
Flour and Water
This is just a fun way for the children to use cooking materials and explore the texture and consistency.
Materials Needed: Flour, water.
Simply let the children decide how much water and flour to add!
Extension: Add food coloring to the water.
Paper, Newspapers and Telephone Books
Place old telephone books, newspapers and scrap paper in the sand and water table with scissors. Let children practice cutting and cutting and cutting!
Save their cut papers. Then MAKE your own paper!
Home Made Paper
Materials Needed:
Water, old blender (that works but you will not use again for food!); screen (like that used in your screen door!)
1. Place screening in the sand and water table to cover the inside bottom of the bin.
2. Have children place small amounts of paper in blender*
3. Add just enough water to soak paper through.
4. Cover blender and blend for 2 minutes, adding water if paper is too dry.
5. Empty the mixture into the sand and water table.
6. Continue steps 1-4 until you have a lot of pulpy mixture!
7. Have children use their muscles to push the paper into the screen (this squishes out water).
8. Place screen with paper on it somewhere that is warm and dry (outside is ideal!).
9. Let dry for 24 hours.
10. Cut into pieces and use for paper.
* I suggest having a “Blender Safety” discussion before this.
Let the children know that ONLY adults use the blender and that they should not place their hands INTO the blender.
I highly recommend taking the blender pitcher and blades out to show the children so that they have the opportunity to see what the blades look like, why they mix things up the way they do, etc.
* Also, I recommend that when you are done blending a batch and the children are adding more paper, UNPLUG the blender. Only have it plugged in while it is blending. Why take chances?!
VARIATION: One year we added squished up flowers to the pulp—dandelions, flower petals, etc.!
Snow and Ice
Need I say more?!!!
Add snow to your sand and water table and provide shovels, spoons, cups etc.
For ICE, try making it a bit differently!
Add regular ice cubes, crushed ice, and then try:
Freeze water in different shaped containers. Also, add food coloring to the water before freezing.
Provide mittens and have fun!
EXTENSION: Supervise children as they use table salt to make the ice cubes stick together (You don’t want the salt to get into the children’s eyes).
*************************************************************** If you do not live in an area with snow, try using “Insta-snow”, which can be purchased at a teacher supply store or craft store. It is fun!
Insta-Snow is NON Toxic. It is a polymer and is cold to the touch when mixed with water!
It was actually a mistake made by a Japanese company. They were working with polymers to make a substance for inside of diapers (you know, that gel-like polymer that collects all of juniors...well, you know!) but the incorrect amounts were put in. Imagine if THIS stuff were in diapers??!!!
Check out this cool video showing how it works!
Click this link => Insta-Snow In Action!
Other pages you might be interested in:
Click here to go to Interest Center Main page from the Sand and Water Table Page
Click Here to Return to Preschool Plan-It's Home Page


Hey there! Welcome to Preschool Plan It! I’m Cheryl, a preschool teacher of over 20 years.
I KNOW, I know, you spend hours of time developing your preschool themes, activities and preschool lesson plans each week. You are commited to planning preschool themes and activities that are engaging hands-on, interactive, fun AND meet the goal of supporting each child’s level of growth and development.
I am commited to providing you, the preschool teacher, with everything you need to develop preschool lesson plans and preschool activities for your classroom all in one place!
READ MORE
Join My Free Preschool Teacher Tips Newsletter
You’ll receive a weekly email with planning tips and teaching ideas.
You'll also receive (on the 1st of each month) a free theme starter pack with some printables and activity ideas to get you started planning a theme!Join Now and Get Your First Theme Right Away!
© Copyright 2010-2025 Preschool-Plan-It.com | All Rights Reserved | Privacy Policy & Disclaimer
- Preschool Teachers
